Table of Contents
Ever looked at a gorgeous flower arrangement and thought, "I wish I could make that?" Well, guess what? You absolutely can, and it's way easier than you might think. I'm going to show you exactly how to make a stunning artificial flower arrangement that'll fool even the most discerning eye. Forget those sad, dusty fake flowers of the past; we're talking about creating a vibrant, lifelike display that'll brighten up any room. This isn't just about sticking some stems in a vase. I'll walk you through gathering your supplies, step by step, and share some pro-level tips to make your creation look incredibly real. You'll learn how to choose the right flowers, arrange them like a pro, and add those little touches that make all the difference. By the end of this guide, you’ll not only know how to make a artificial flower arrangement, but you’ll have the skills to create endless variations for any occasion. Let's get started and unleash your inner floral designer!
Gathering Your Supplies for a Stunning Artificial Flower Arrangement
Gathering Your Supplies for a Stunning Artificial Flower Arrangement
The Vase and Foundation
Alright, let's talk about the base of your masterpiece. First, you'll need a vase or container. Don't feel like you have to use something fancy! A simple glass jar, a ceramic pot, or even an old tin can work great – it's all about what fits your style. Then there's the floral foam. This stuff is like the unsung hero of flower arranging. You'll want the dry kind, not the green wet stuff. It's what keeps your flowers in place. Make sure you get enough to fill your container, and don't be afraid to cut it down to size. Think of it like the soil for your fake garden, but way less messy.
I like to imagine the foam as a stage for my flowers, each stem a tiny actor ready for its moment in the spotlight. You also might want some wire cutters; they are essential for trimming your flower stems to the perfect length. It's like giving your flowers a haircut, so they're not all the same height. And while they're optional, consider getting some floral tape to help secure the foam in place, especially if your container is a bit wonky. It's always good to have a backup plan in case things get a little wild in the arranging process.
The Blooms and Greenery
Now for the fun part: picking your flowers and greens! When choosing your faux flowers, don’t just grab the first bunch you see. Look for ones that have a bit of texture and variation in color, that looks more natural. A good mix of different sizes and shapes will make your arrangement look way more interesting. Don't be afraid to mix and match different types – roses, hydrangeas, and smaller filler flowers are a good starting point. And for that extra touch of realism, make sure you have some good greenery. Things like eucalyptus, ferns, or even just some simple leaves will make your arrangement pop and not look so flat.
When picking out your greenery, I like to think of it as the supporting cast of the flower show. It's what makes the main flowers shine and adds depth and dimension. It's all about creating a balance, so don't go overboard with the flowers and forget about the greens. And remember, you don't need to spend a fortune on expensive flowers. You can find beautiful, affordable options at craft stores or even online. The most important thing is to choose flowers and greens that you love and that will make you happy when you look at them.
Supply | Why You Need It | Where to Find It |
|---|---|---|
Vase or Container | To hold your arrangement | Home, thrift stores, craft stores |
Dry Floral Foam | To secure the flowers | Craft stores, online |
Wire Cutters | To trim flower stems | Hardware stores, craft stores |
Faux Flowers | The main attraction! | Craft stores, online, discount stores |
Greenery | Adds depth and realism | Craft stores, online |
Floral Tape (optional) | To secure the foam | Craft stores, online |
StepbyStep: Crafting Your Artificial Flower Arrangement
StepbyStep: Crafting Your Artificial Flower Arrangement
Laying the Foundation
Okay, you've got your supplies, now let's get our hands dirty, but like, in a clean, floral kind of way. First, grab your container, and if needed, secure the floral foam at the bottom with floral tape. Now, this is important: start with your greenery, think of it as building the skeleton for your arrangement. Begin by placing your largest pieces of greenery to create the overall shape and height of your arrangement, like the frame of a painting. Don't be afraid to let some pieces hang over the edge, it adds a relaxed and natural feel. We're not striving for perfection, just a good-looking base to start with. It's like setting the stage for the main event!
Next, you might want to trim your stems. Remember, you want different heights, so don’t just cut them all the same length. I like to think of it like a skyline, you want some tall buildings and some shorter ones, to give it some visual interest. Now, before we get to the flowers, take a step back and see if you like the greenery layout. If not, make some adjustments, because this is your base and you’ll be building on top of it.
Adding the Focal Flowers
Alright, now for the main event: the flowers. Start with your biggest and most eye-catching flowers. These are going to be the focal points of your arrangement. Place them in a way that creates a natural flow and balance. Don’t just plop them all in the center, stagger them a little bit. Think of it like arranging a group photo, you wouldn't put everyone in a straight line, right? You want some in the front, some in the back, and some on the sides. This adds depth and makes the arrangement more interesting to look at.
As you add your focal flowers, you might want to turn the container to make sure it looks good from all angles. We don't want any bald spots, do we? After you've got your main flowers in place, add in your smaller filler flowers. These are like the supporting actors, they fill in any gaps and make the arrangement look full and lush. Use different sizes and colors to add texture and visual interest to your arrangement. Don't be afraid to mix and match different types of flowers, that's what makes it unique!
Finishing Touches
You’re almost there! Now it’s time to add the finishing touches, those little details that make all the difference. Take a step back and look at your arrangement. Are there any gaps? Any spots that look a little bare? If so, add a few more pieces of greenery or filler flowers. You might also want to adjust some of the stems to create a more natural flow. Sometimes, a little tweak here and there can make a big difference. Now, this is where you can really let your creativity shine. Add some extra elements like berries, branches, or even some ribbon to give your arrangement a unique look.
And remember, there are no rules when it comes to flower arranging, just guidelines. It's all about what looks good to you. Don't be afraid to experiment and have fun with it! If you feel like you want to move some flowers around, go for it. You can always rearrange it until you’re happy. Once you’re satisfied, give your arrangement a final look, and admire your handiwork. You’ve created something beautiful that will brighten up your home or make a thoughtful gift. And you did it all by yourself!
Step | Action |
|---|---|
1 | Secure foam in container |
2 | Add greenery for base |
3 | Place focal flowers |
4 | Fill with smaller flowers |
5 | Add finishing touches |
Tips and Tricks for Making Your Artificial Flower Arrangement Look Real
Tips and Tricks for Making Your Artificial Flower Arrangement Look Real
Okay, so you've got your arrangement looking pretty good, but how do you take it from "nice" to "wow, is that real?" That's where the little secrets come in. First, bend those stems! Real flowers don’t stand straight like soldiers, they have a natural curve, a little droop here and there. So, gently bend the stems of your artificial flowers to mimic this natural movement. It’s like giving them a little personality. Don't be afraid to get a little messy with it, nature isn't perfect, and neither should your arrangement be. Also, pay attention to the leaves. If they look too perfect, bend them slightly as well. This gives the entire arrangement a more organic and lifelike look. It's all about those subtle imperfections that make a big difference.
Another trick? Think about the color. Real flowers have different shades and tones. So, if your artificial flowers are all one solid color, try adding a little bit of variation. You can use a soft brush and some paint or even a bit of chalk to add subtle highlights and shadows. It’s like giving your flowers a natural tan. And don't forget the details! Things like adding a few sprigs of dried lavender or some moss can make your arrangement look even more authentic. It’s like adding little secrets that make people wonder if they’re real. It's these small touches that elevate your arrangement to the next level, making it a true work of art.
Tip | How to Do It |
|---|---|
Bend Stems | Gently curve stems for natural look |
Vary Colors | Add subtle highlights/shadows |
Add Details | Use dried lavender, moss, etc. |
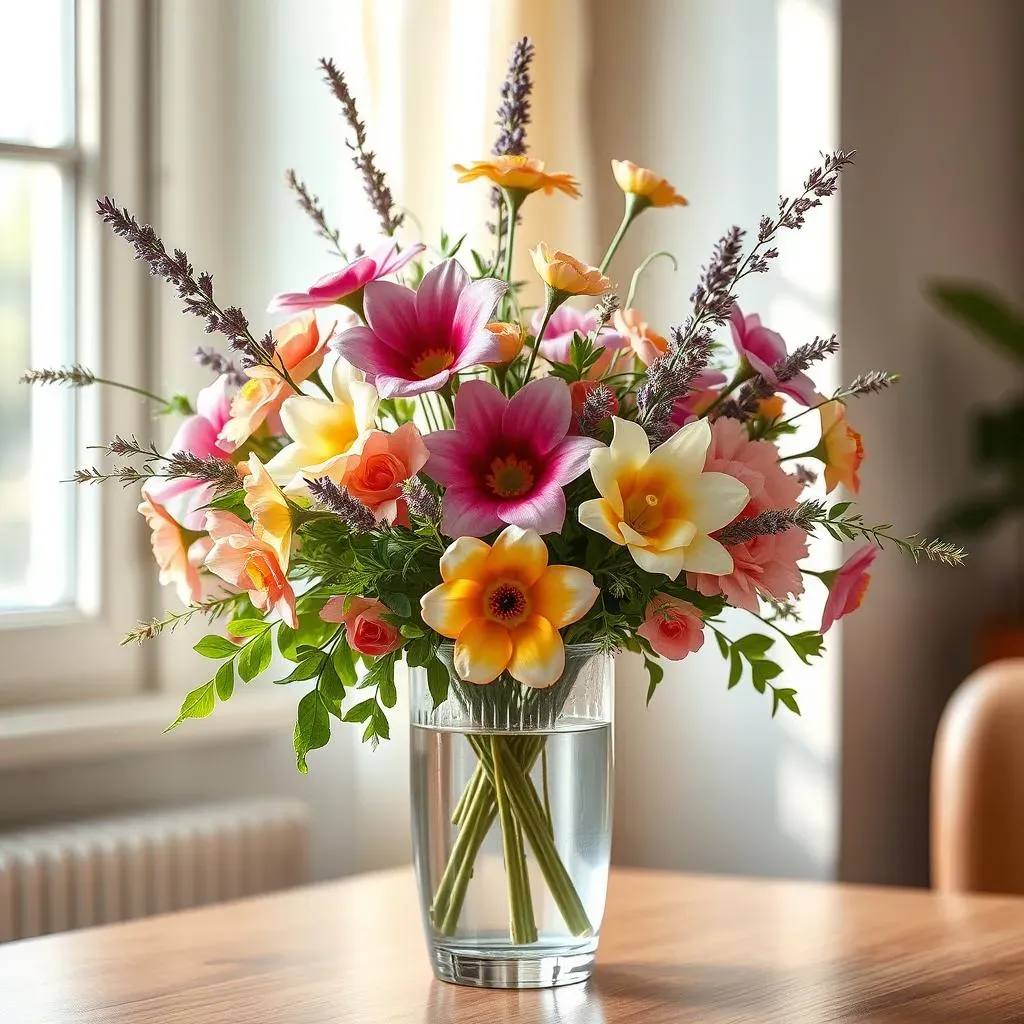
Here's a tip that many people miss: the vase matters! If you're using a clear vase, consider adding some "faux water" to the bottom. You can use clear resin or even just some clear glass beads to simulate the look of water. This adds a touch of realism and makes the arrangement look more finished. Also, think about the placement. Don't just stick your arrangement on a shelf, consider the lighting. Natural light will make your arrangement look even more realistic, while harsh artificial light can make it look a bit fake. Try placing your arrangement in different spots to see what looks best. It’s like giving your flowers the perfect stage to shine.
And finally, remember that less is often more. Don't overcrowd your arrangement. It's better to have a few beautiful flowers and some well-placed greenery than a bunch of stems all crammed together. Step back and look at your arrangement from a distance. Does it look balanced? Does it have good flow? If not, make some adjustments. It’s like editing a photo, sometimes you need to tweak a few things to get it just right. And most importantly, have fun with it! Flower arranging is a form of art, so let your creativity shine and don't be afraid to experiment. The more you practice, the better you'll become at creating stunning artificial flower arrangements that look incredibly real.
- Use "faux water" in clear vases
- Consider natural lighting
- Avoid overcrowding
- Step back and assess
